Hello Everyone,
Some of you have been asking on my Facebook page for step by step photos as I work through a painting.
This one was started as a workshop demo in Mendocino Art Center last year.
I usually do complete my demo paintings, but not often in class. I am so busy helping students and doing all the little things it takes to conduct a class that I come home with an unfinished painting. The good thing is that I have something I like to work on, the bad thing is that I have many starts, and have to postpone finishes.
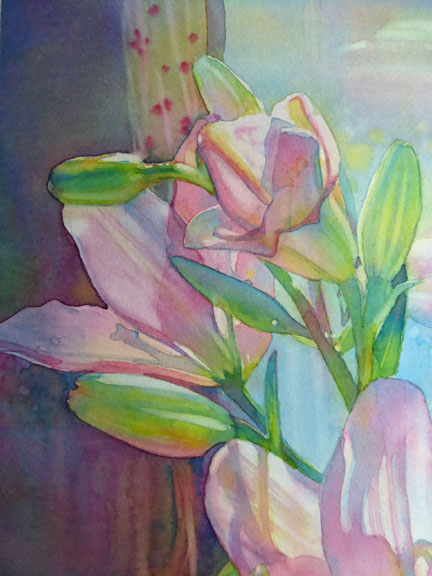
I am using a limited palette of Winsor Blue Green Shade, Permanent Rose, and Winsor Yellow. These are staining transparent colors which allow me to do layering (glazing). The glazing is done after each layer is dry.
I am working wet on dry paper, and a little bit of wet into wet.
So… At any rate, here we have some step by step for you to study.
1. Shapes and colors are laid in. Dark in the background is 3 or 4 layers of my 3 colors mingled on the paper, not mixed on my palette.
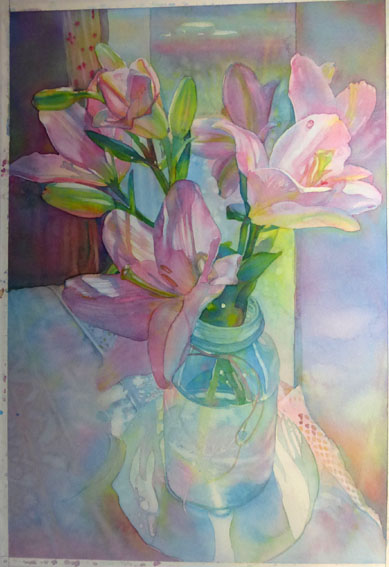
2. Close ups of my table cloth as I start to add the details.
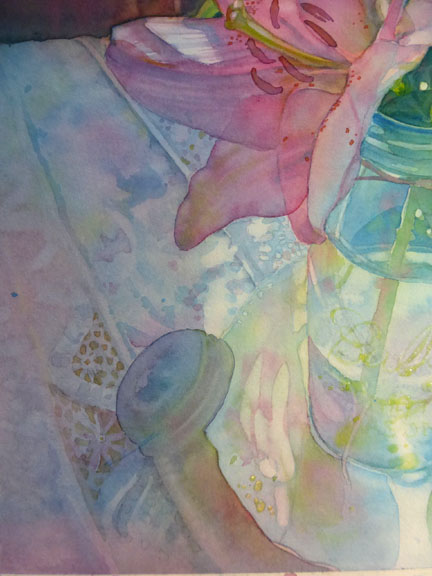
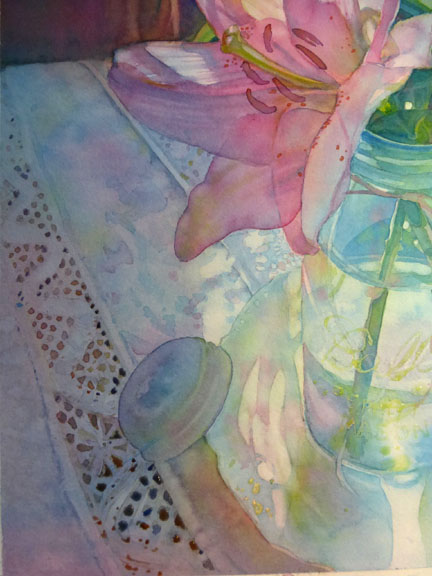
3. My jar at this point had no masking fluid, but I thought it would make it much easier to add some.
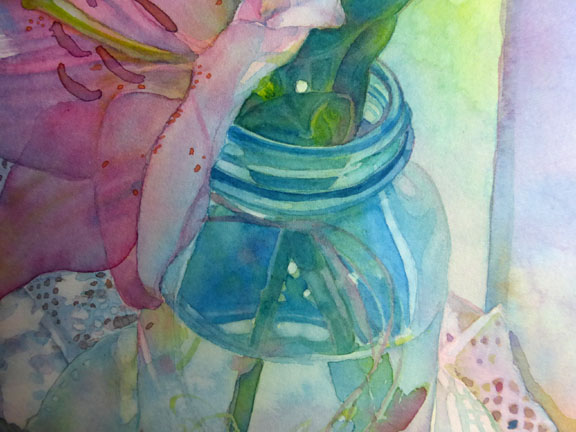
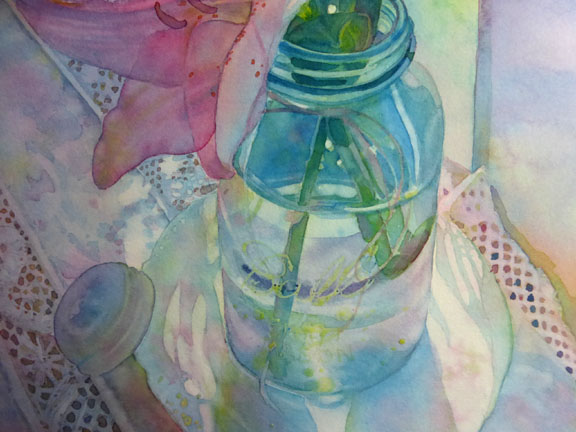
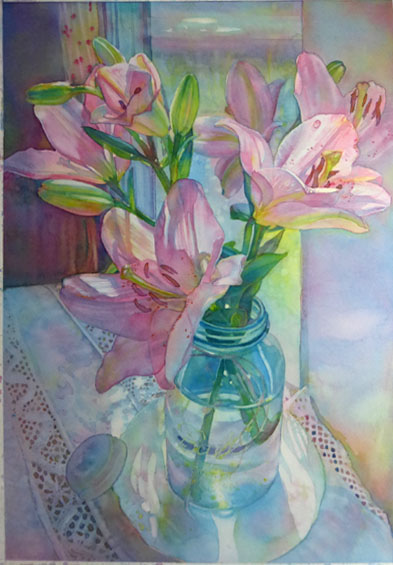
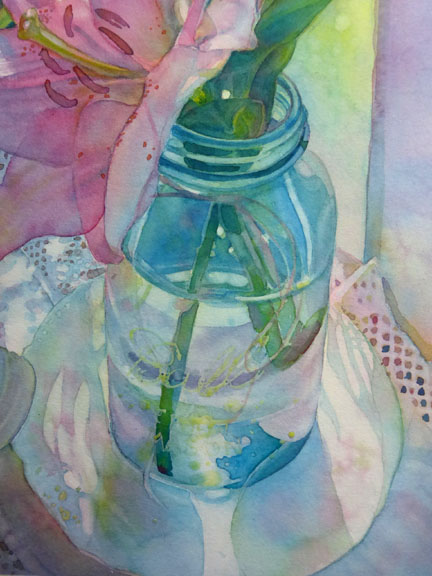
4. Here we have the painting so far. I am wanting to work more on the foreground and to continue to add details within the jar.
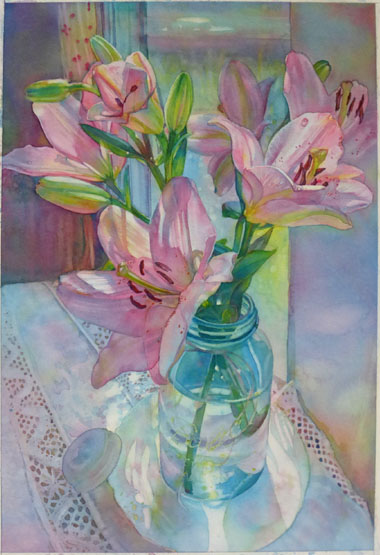
5. The changes are subtle and gradual as I work small areas adding detail and darker values.
I like working through the whole painting, rather than piece by piece, so, it is, I realize harder for you to follow the small changes.
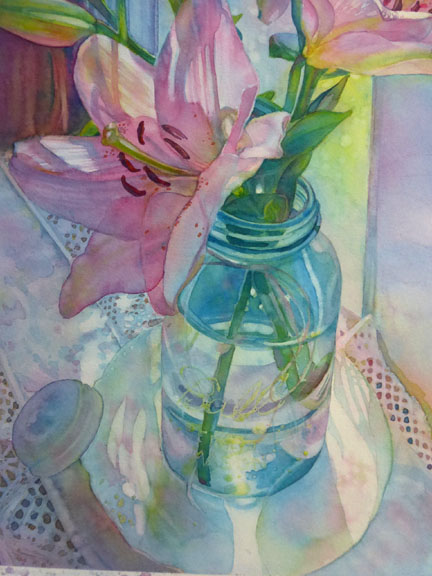
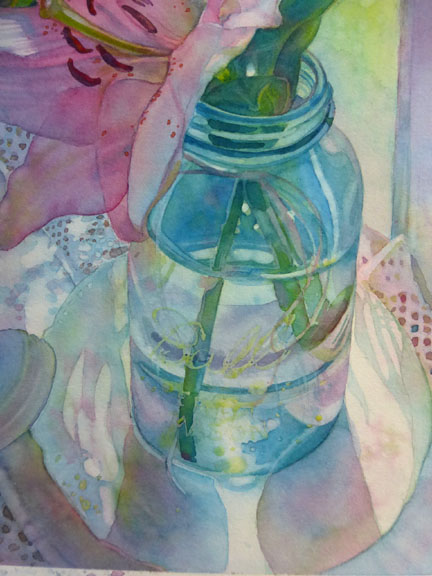
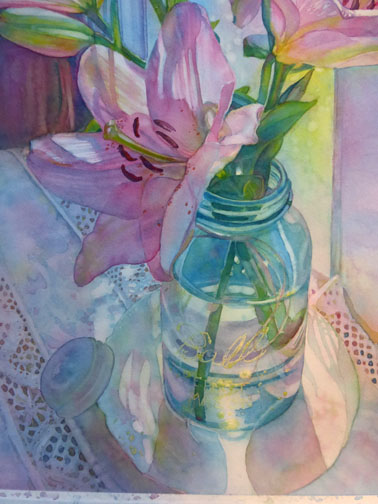
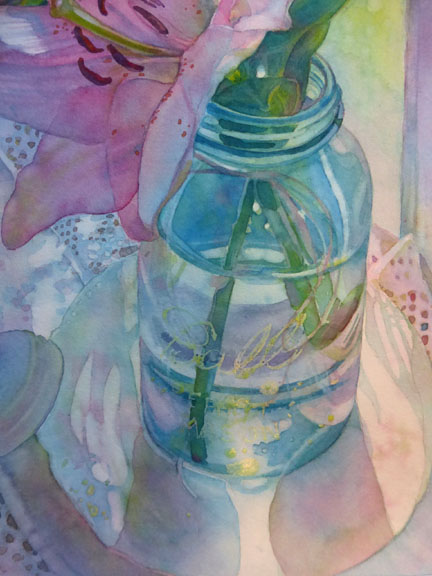
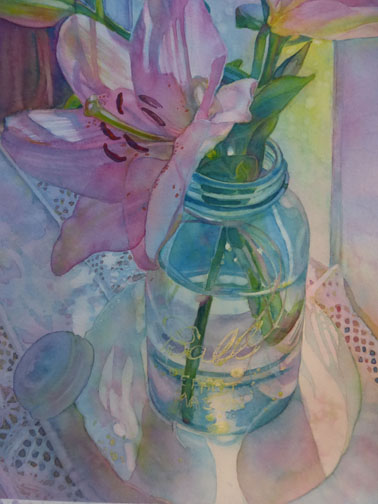
5. Now I will take off the masking fluid and see what I have.
I will add more photos as I make changes and progress.
Thank you so much for visiting my website.
Please remember that I do teach workshops in various California venues. If you go to my Classes page you will see what’s on my schedule at this time … Link is here: https://www.jeannievodden.com/classes-events/
And, I do sell my paintings… yes I do… and cards and prints too. Go here: for paintings and info. https://www.jeannievodden.com/gallery/
